Getting Custom Artwork for Your Snack Box MICRO
JFA Staff
Creating and Installing Custom Artwork for Your Snack Box MICRO
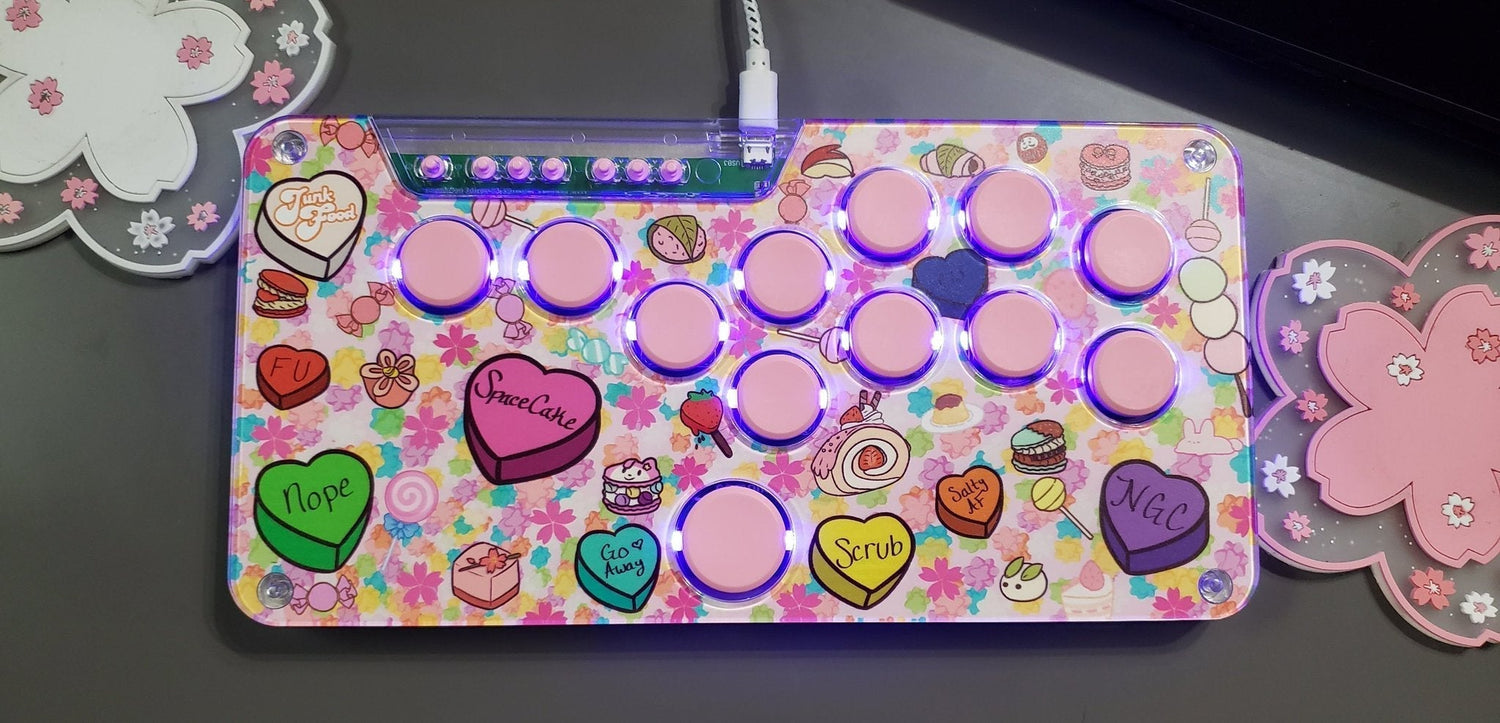
One of the most exciting ways to personalize your Snack Box MICRO leverless controller is by adding custom artwork to the top plate. This not only makes your controller stand out but also gives it a touch of personality that matches your style. If you’re not sure where to start, here’s a step-by-step guide to getting that perfect design onto your MICRO.
Step 1: Create Your Artwork
The first step is deciding what kind of artwork you want. Whether it’s a favorite character, a custom logo, or an abstract pattern, make sure the design reflects your personality and tastes.
- Use Templates: Head to www.FocusAttack.com or other reliable accessory sites to find the official Snack Box MICRO artwork template. These templates ensure that your artwork fits the exact dimensions of the controller’s top plate and leaves room for buttons and screws.
- Check Resolution and Format: Ensure your artwork is in a high-resolution format (at least 300 DPI) and saved as a PNG or PSD file. This will ensure that when printed, your design looks sharp and vibrant.
Step 2: Choose a Printer or Service
Once you have your design ready, it’s time to print. You have a few options:
- Local Print Shops: Many local printing businesses can print on vinyl or other durable materials. Call ahead to confirm they can handle the size and material requirements.
- Online Services: Sites like Focus Attack and others in the fighting game accessory community often offer printing services for leverless controller art. They’ll know exactly what specs to use and can deliver a polished result.
- DIY at Home: If you have access to high-quality vinyl and a compatible printer, you can print the artwork yourself. However, this approach may require additional tools and experience to get the best results.
Step 3: Cut and Apply
Once you have your printed artwork, carefully cut it to match the outline of the Snack Box MICRO’s top plate.
- Precision is Key: Using a sharp craft knife or scissors, carefully follow the guide lines from the template. Make sure all button holes and screw points are cleanly cut.
- Clean the Surface: Before applying the artwork, remove and clean the top plate of your MICRO to ensure a smooth, dust-free surface. Do not use any alcohol based cleaners, only mild soap and water. You can remove the top by unscrewing the 4 corner screws on the back.
- Apply the Art: Lay the art on the controller and then reattach the top panel. Be careful not to overtighten and use a screwdriver sized for 2.5mm Philips head screws.
Step 4: Enjoy Your Customized MICRO
Once your artwork is in place, reassemble your controller if needed. The result is a one-of-a-kind Snack Box MICRO that not only performs at a high level but also looks incredible. It’s a small effort that pays off every time you pick up your controller and show it off at tournaments or events.
Final Thoughts
Customizing your Snack Box MICRO with your own artwork is a fun, rewarding process that lets you express yourself and make your controller truly unique. With the right tools and a bit of creativity, you’ll have a personalized leverless controller that stands out from the crowd.
jajaj
Such an useless website. Does not provide any information on where the template is or any kind of extra info.